
We specialize in hard to find items

All Categories


*Price and Stocks may change without prior notice
*Packaging of actual item may differ from photo shown
- Electrical items MAY be 110 volts.
- 7 Day Return Policy
- All products are genuine and original
- Cash On Delivery/Cash Upon Pickup Available


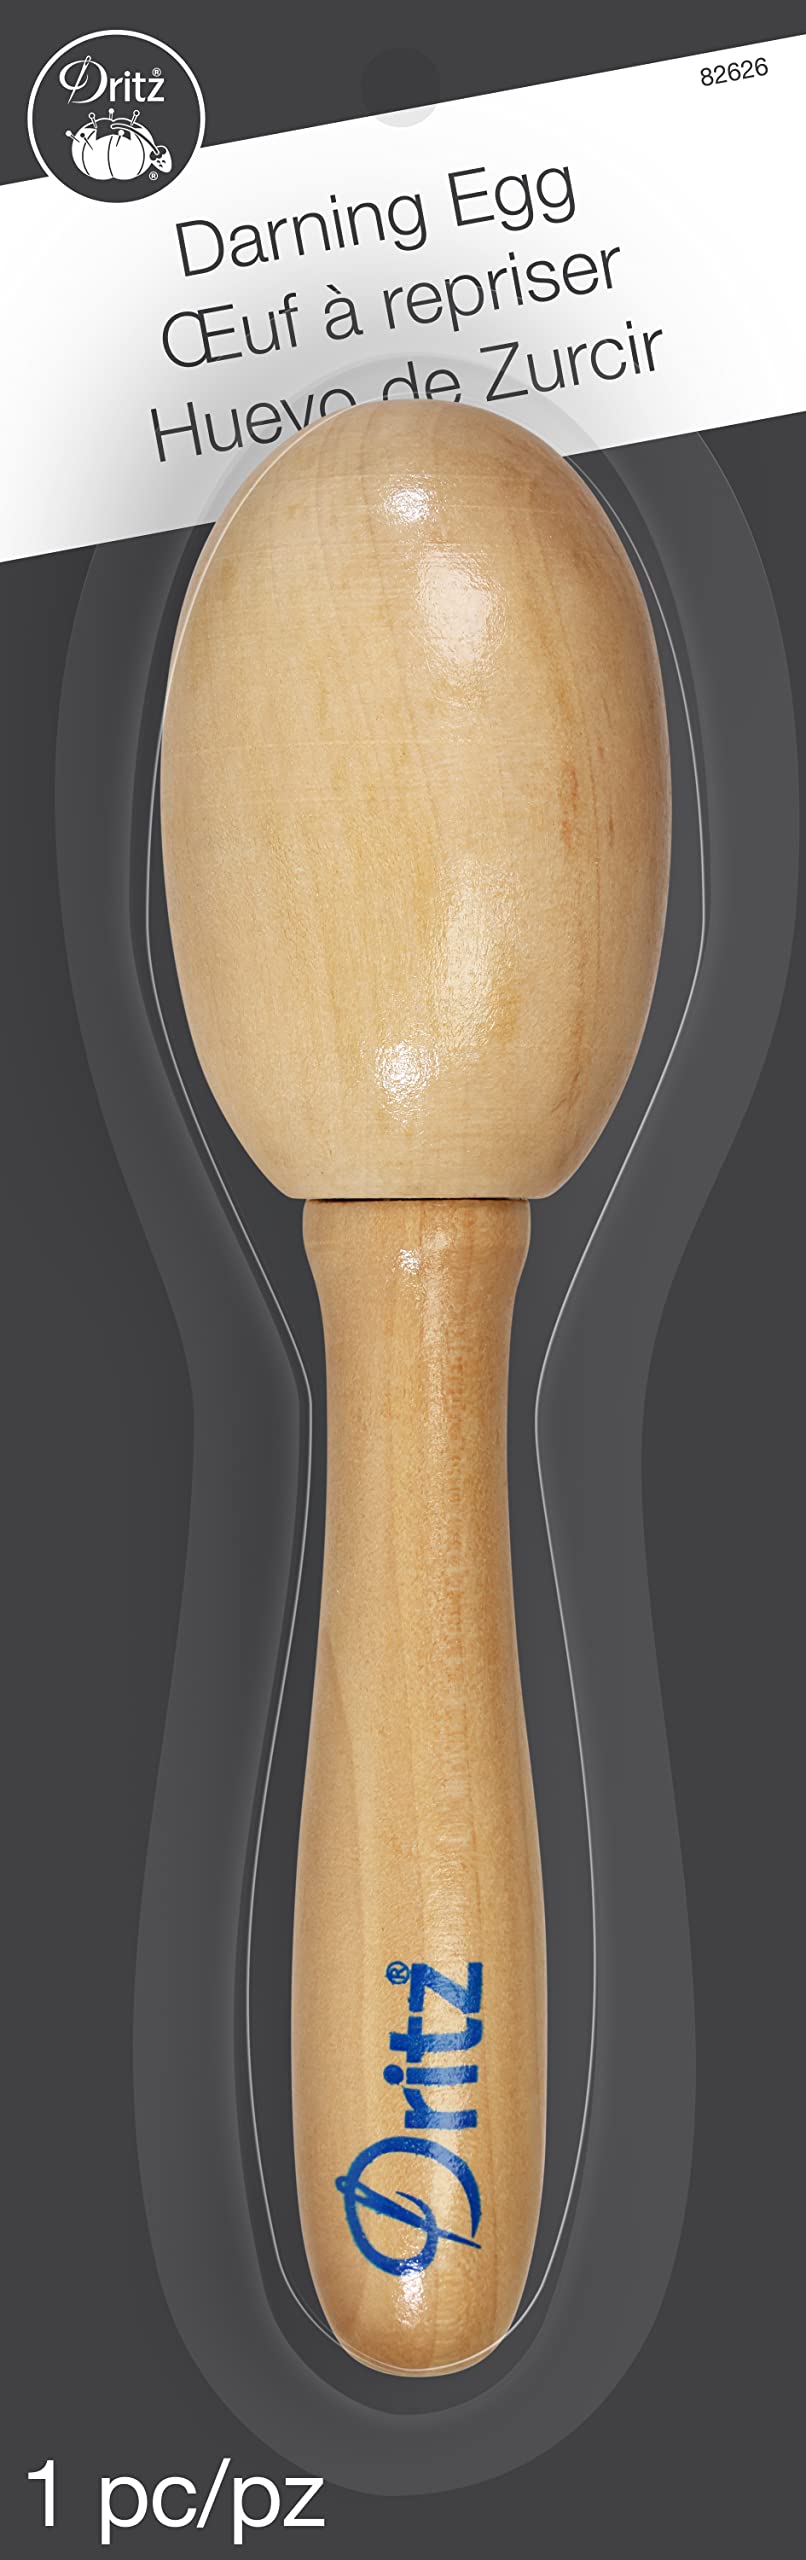
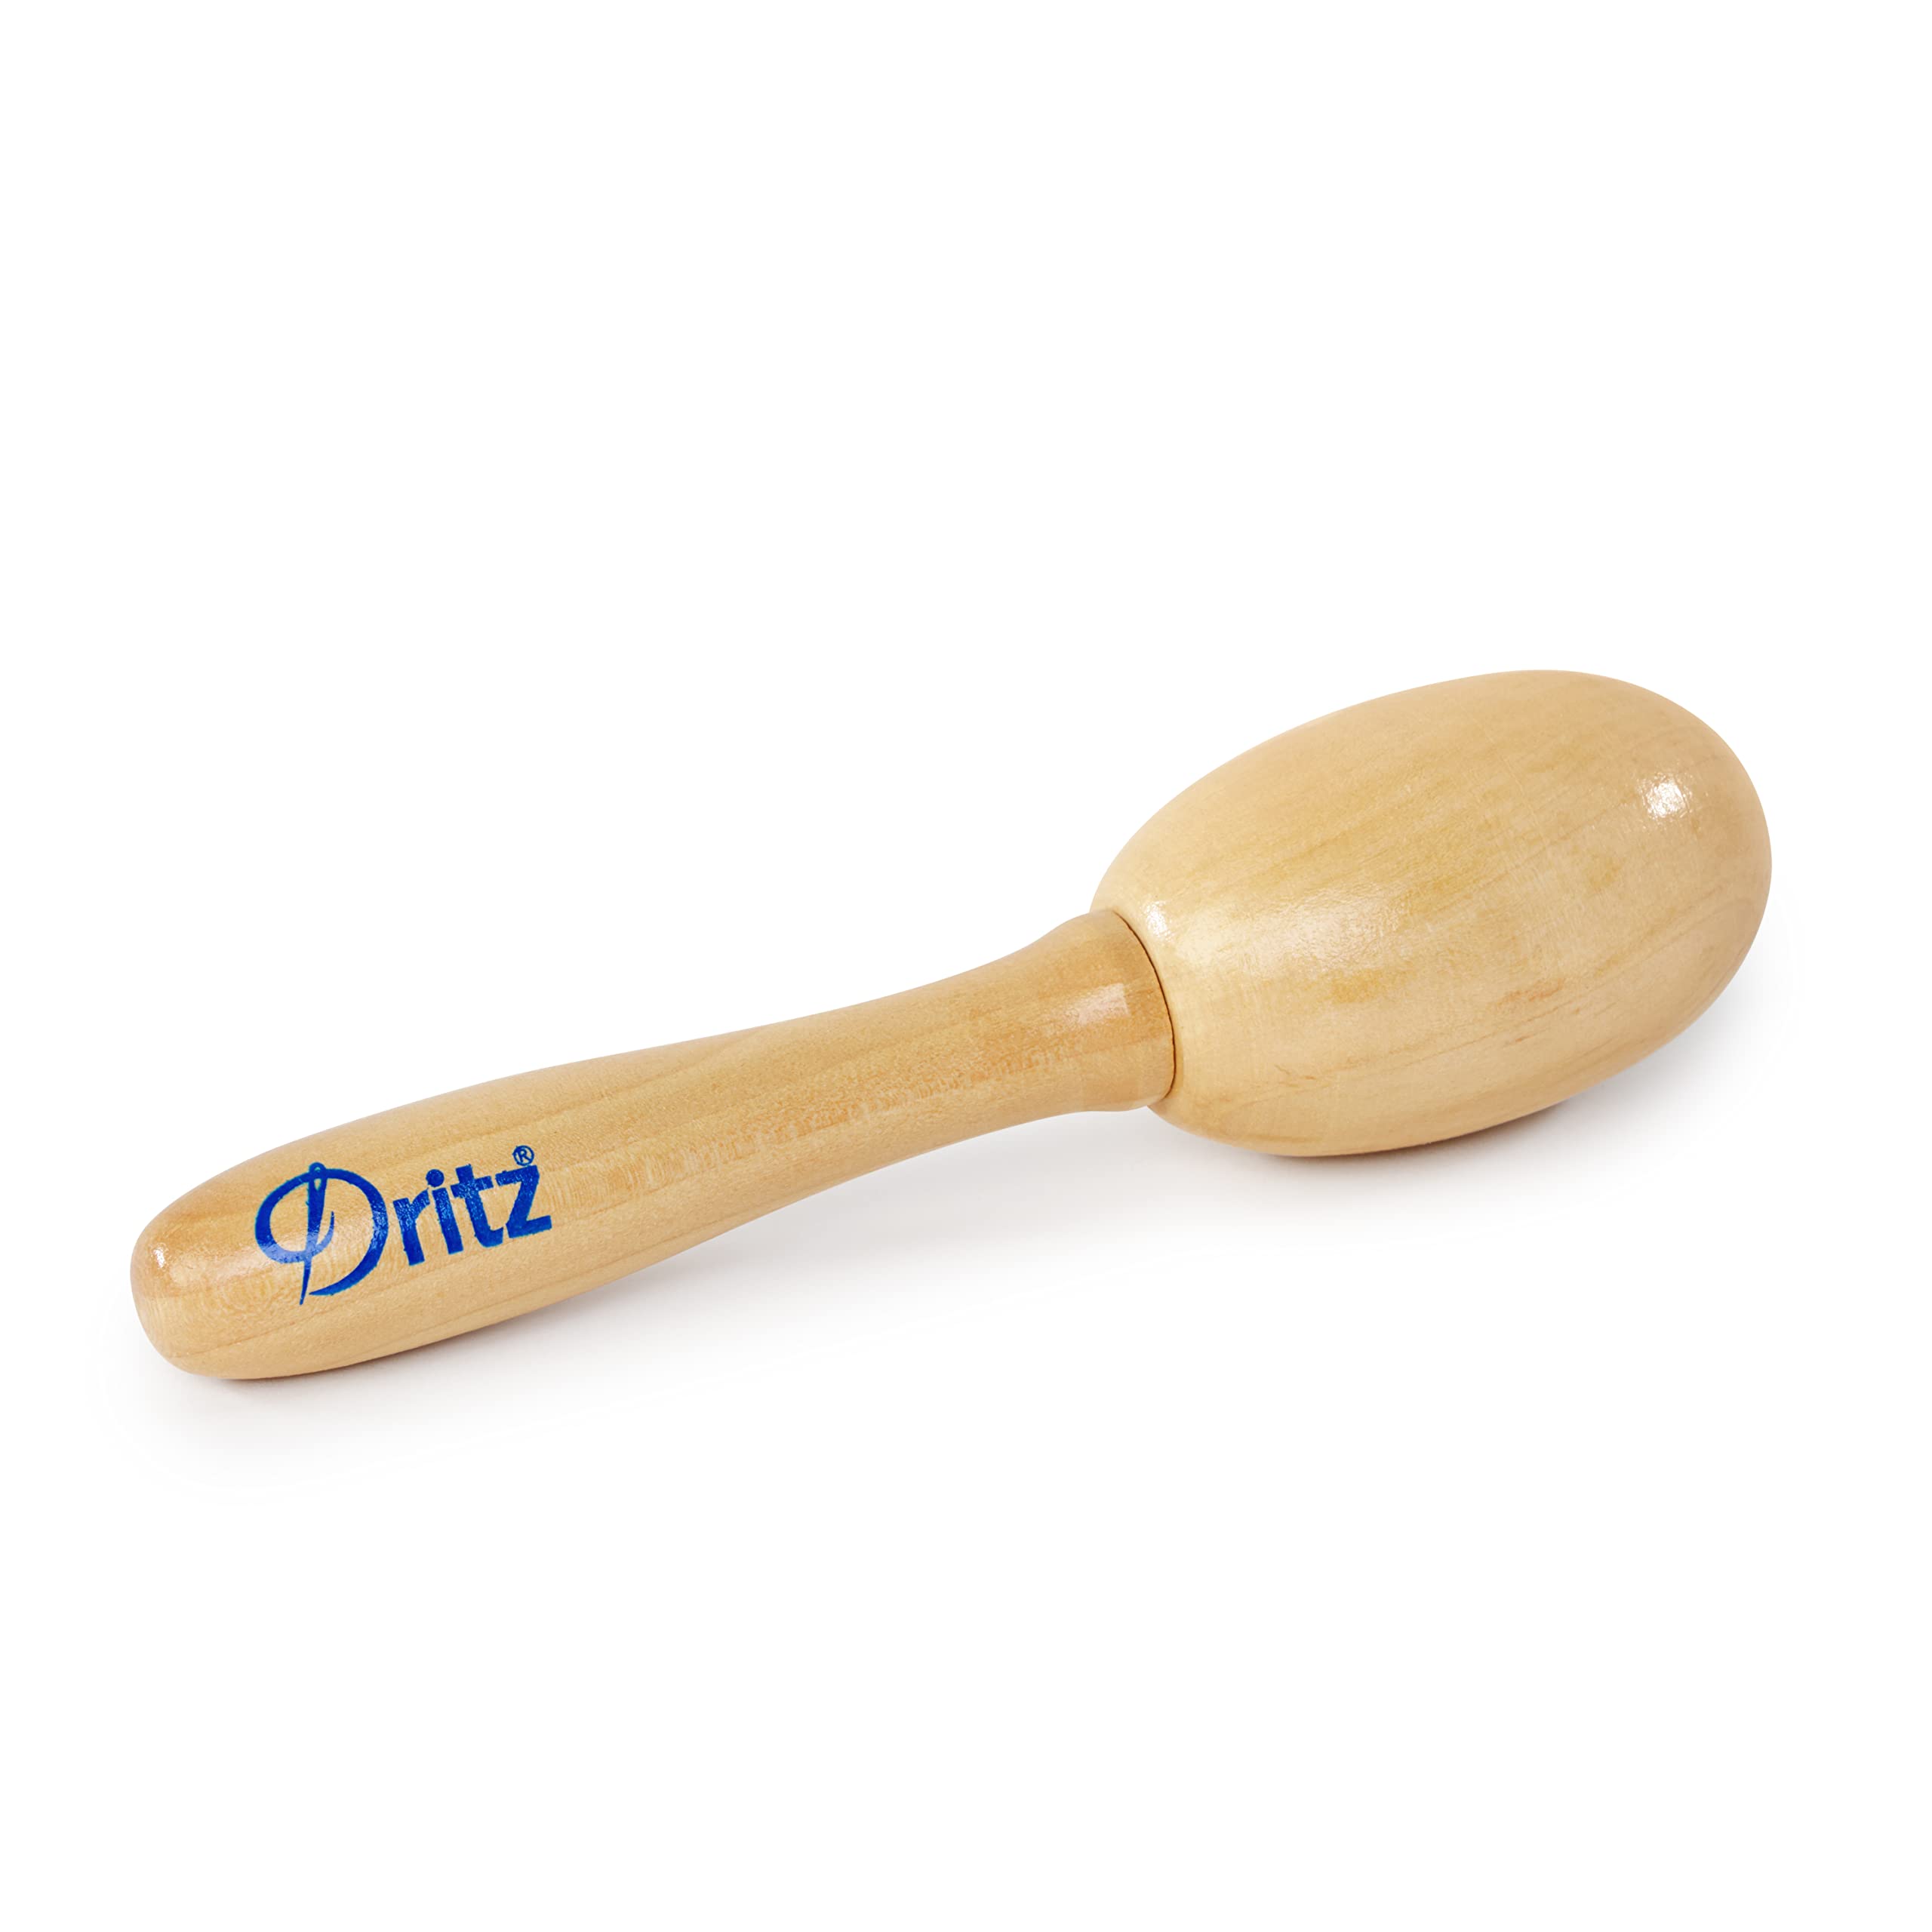
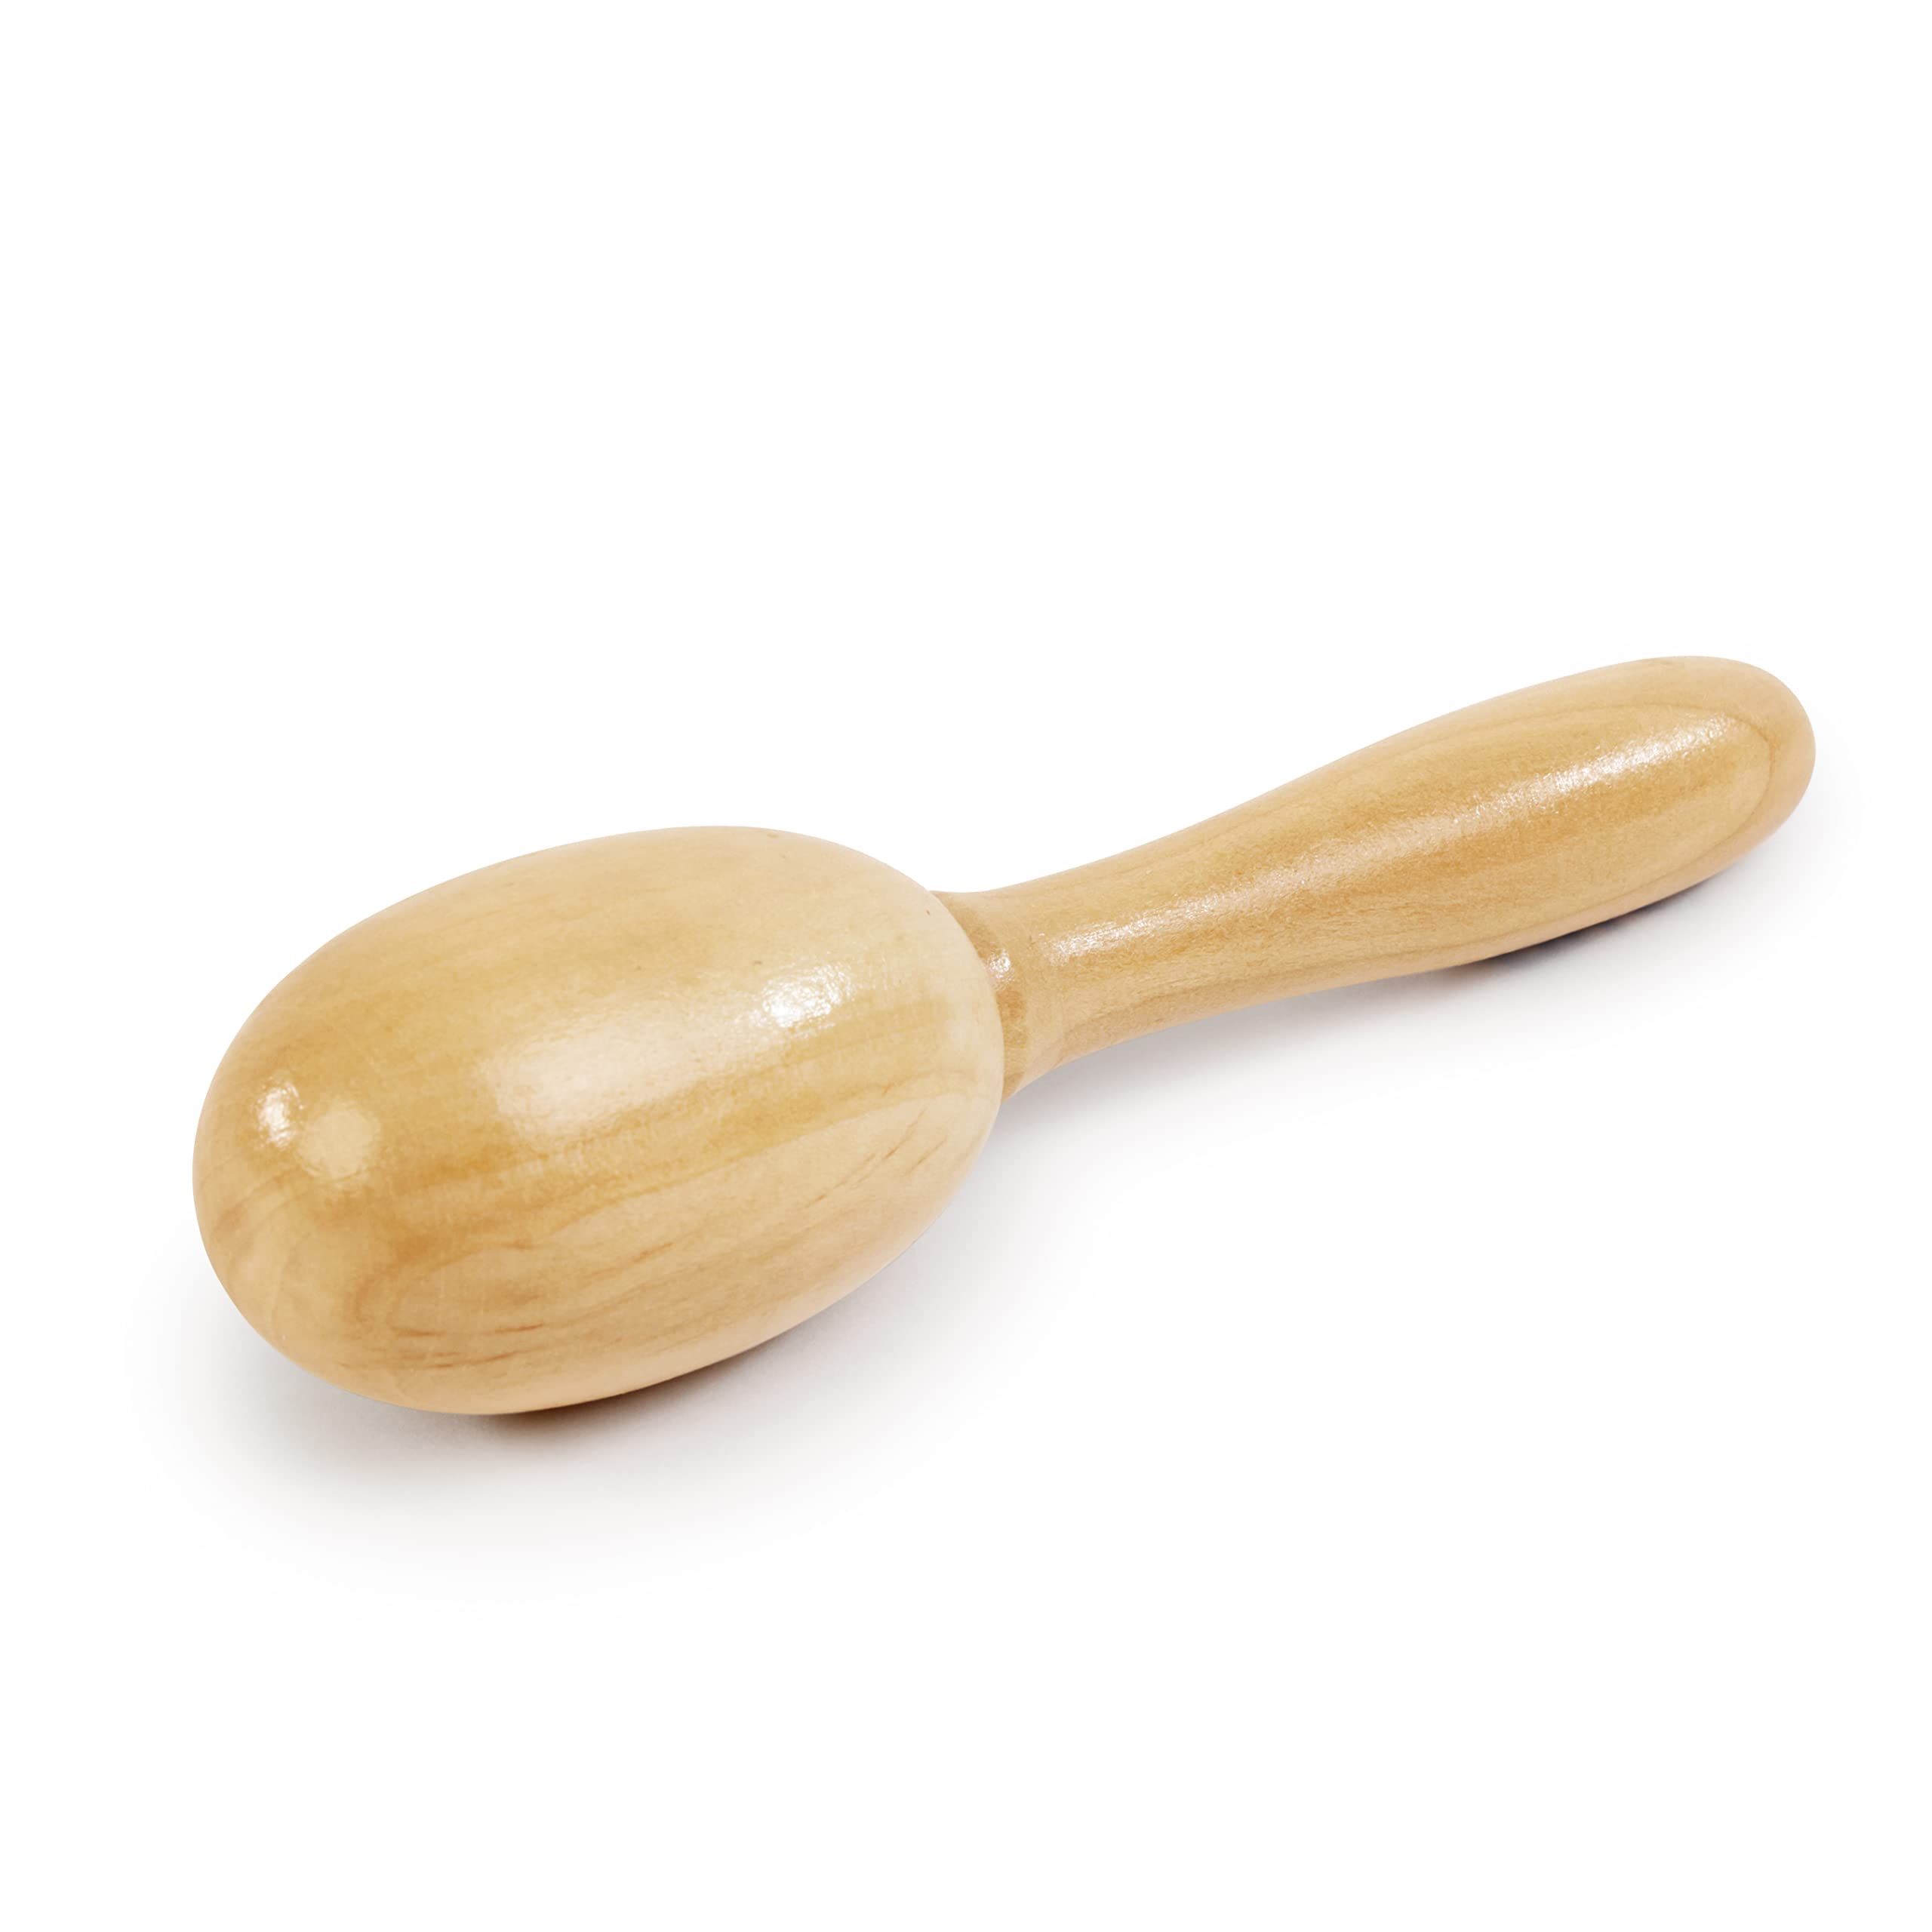
Dritz Clothing Care 82626 Darning Egg, Black Features
-
Two-piece construction for use with or without handle
-
Size and shape help make repairing socks, gloves, mittens and sweaters easier
-
Threaded top on handle
-
Comfortable grip
About Dritz Clothing Care 82626 Darning Egg, Black
Dritz Clothing Care Darning Egg’s size and shape help make repairing socks, gloves, mittens, sweaters, pillows and other knitted/woven fabrics. Easier. Features Two-piece construction for use with or without handle, threaded top on handle, and a comfortable grip. 1. Place the garment hole over the egg, so the wrong side of the fabric is facing you. 2. Using a properly sized darning needle and mending material (reinforcing thread, embroidery floss or yarn) for your project, begin at least five stitches out from the edge of the hole. For stability, use longer lengths of mending material. 3. Aim for a tight weave. Using a running stitch, begin stitching from top to bottom. 4. Vertically add rows approximately a strand-width apart. Leave small loops at the end of each row. Stitches in one row should alternate with stitches in the next, creating a traditional brick design. 5. When your stitch reaches the hole, the “bridge” stitch will begin over the edge of the hole on one side, and continue from below the edge on the other side. The next “bridge” stitch will begin from below the edge and continue over the edge on the other side. Alternate “bridge” stitches in this method. 6. After all of the vertical rows are added, begin adding horizontal rows over and under the vertical rowas in a basket weave design (use diagonal rows for the second set if “stretch” is needed in the garment – e.g. knitted fabrics). 7. When complete, trim and tie your threads. Avoid huge knots, so you don’t experience discomfort while wearing.


