We specialize in hard to find items

 (1)
(1)

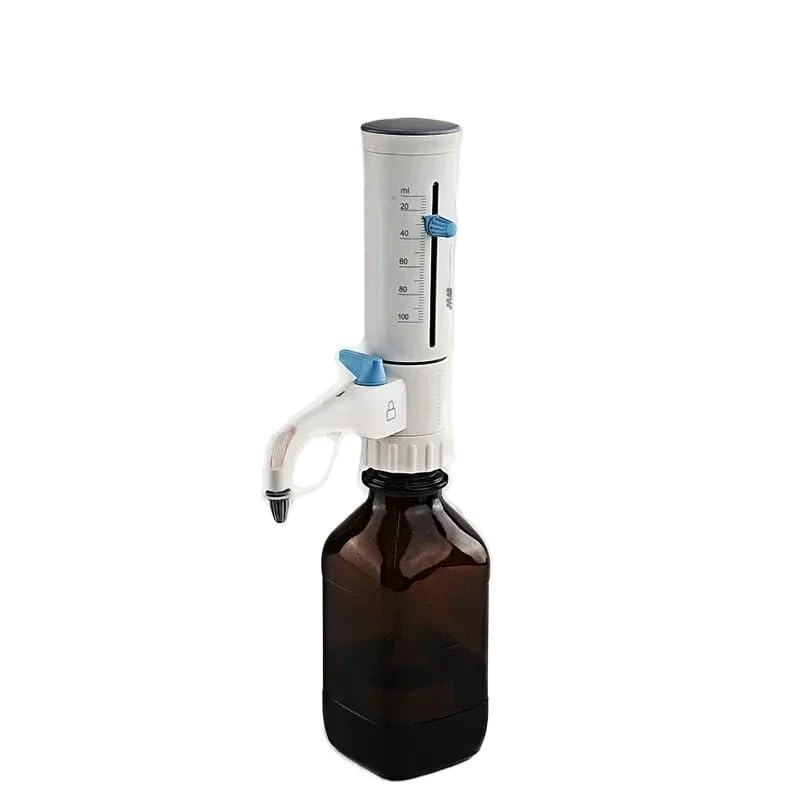


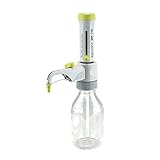
Bottle Cap Dispenser, Adjustable quantitative Laboratory Dispenser, Large Capacity up to 100mL Fully high-Pressure Sterilization Dispenser(1.0-10ml with Bottle)
Share Tweet
*Price and Stocks may change without prior notice
*Packaging of actual item may differ from photo shown
- Electrical items MAY be 110 volts.
- 7 Day Return Policy
- All products are genuine and original


Bottle Cap Dispenser, Adjustable quantitative Features
-
Easy to disassemble and clean for periodic maintenance.
-
Fully autoclavable at 121 to ensure sterility.
-
Available in 5 dispensing volumn ranges from 0.5mL to 100mL.
-
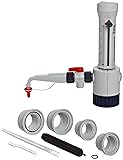
Supplied with most popular adapters (S40, GL32, GL38, GL25, GL28).
-
The liquid inlet pipe is retractable.-With recirculation valve, excess reagent can be easily recovered.
About Bottle Cap Dispenser, Adjustable Quantitative
Bottle-Top DispenserDesigned Safe, Sturdy & Stable dispensing directly from the bottle in the range of volumes up to 100mL Features Extremely chemically resistant Made of PTFE, FEP, Hastelloy, PP and other materials. - Max. pressure resistance is 1000mbar, max. viscosity resistance is 500mm2/s, max. liquid resistance temperature is 40, maxi. liquid resistance density is 2.2g/cm3. Specifications How to use ?1. Install the pipette According to the size of the reagent bottles used to cut the appropriate length of the suction pipette.Manually with a fixed suction tube with a threaded end of the mouth to tighten the bottom of the bottle distributor on the valve. 2. Install the return line Insert a straight end of a short, one-sided, clear, return line into the socket on the bottom of the bottle dispenser next to the aspiration tubing valve. 3. Install the manifold Secure the dispensing tube with the white plastic support sheath to the horizontal connector on the front of the bottle dispenser through the retaining nut on one end of the dispenser Note that the cartridge is tightened before tightening the nut. 4. Install to the reagent bottle If the diameter of the reagent bottle is smaller than the diameter of the reagent bottle, it can be connected with the three screw adapters (diameter: A32. A38 and the diameter of the screw thread) S40) to be transferred to the used reagent bottle. 5. Prepare the pipette Hold the reagent bottle in one hand and turn the bottle dispenser in one hand so that the label of the dispensing tube and the reagent bottle is facing the operator Put the liquid container under the dispensing tube mouth Remove the sealing cap of the dispensing tube (I.e., in the direction of the dispensing tube interface) so that the cap is inserted into the fixed position. 6. In addition to air bubbles Rotate the dial on the top of the dispenser to one-fourth or one-third of the range. Turn the safe