We specialize in hard to find items

All Categories


SINGER Stitch Gauge & Guide - Seam Measuring Tool for Machine Sewing
Share Tweet
*Price and Stocks may change without prior notice
*Packaging of actual item may differ from photo shown
- Electrical items MAY be 110 volts.
- 7 Day Return Policy
- All products are genuine and original
- Cash On Delivery/Cash Upon Pickup Available


SINGER Stitch Gauge & Guide - Seam Measuring Tool Features
-
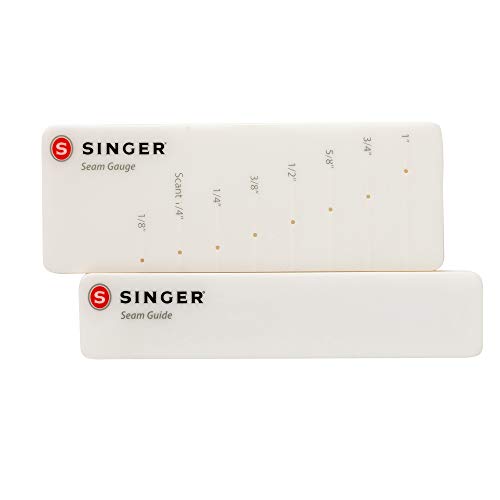
Two piece tool used to sew precise, professional-looking hems and seams
-
Pre-drilled gauge holes for seam allowances measure between 1/8” and 1” in width
-
Reusable and repositionable adhesive guide directs fabric for a precise hem
-
Easy care instructions included for long-lasting use
About SINGER Stitch Gauge & Guide - Seam Measuring Tool
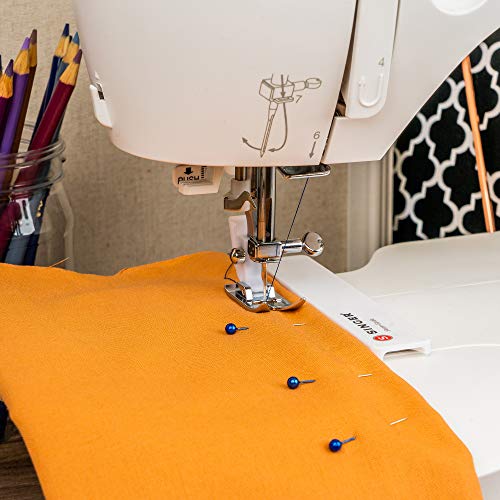
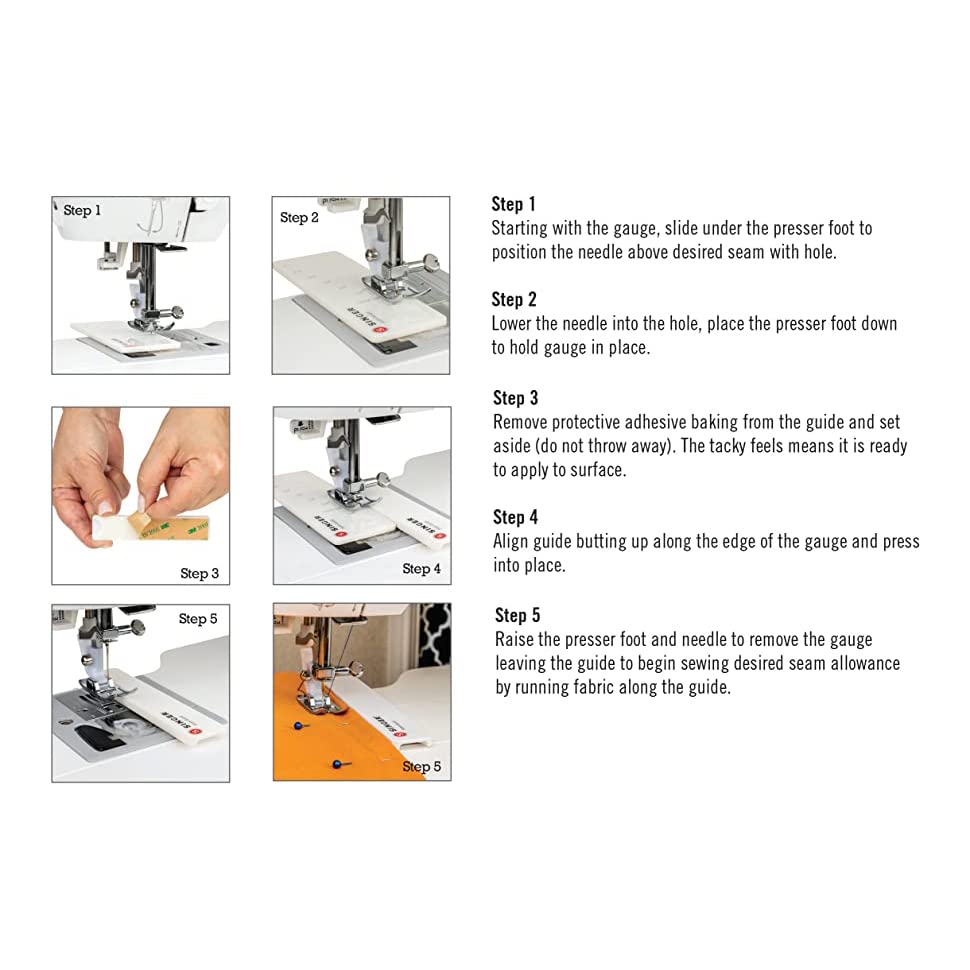
The Singer Stitch Gauge and Guide easily creates precise seams and hems for machine sewing. Simply position the seam gauge under the presser foot, lower the needle into the selected hole, and secure the presser foot over the gauge. Remove the seam guide’s protective adhesive backing and set aside for later use, then align the guide against the edge of the gauge and press into place. Raise the presser foot and needle to remove the gauge, leaving the guide in place to direct the fabric edge for a consistent and precise seam. Replace adhesive backing after each use. To remove lint build up on the adhesive tack strip, spray with a little glass cleaner and gently rub linty area with thumb or finger. The lint will begin to float to surface as you rub it. Rinse debris away with warm water and let air dry. Guide will be ready to use again in a few minutes.